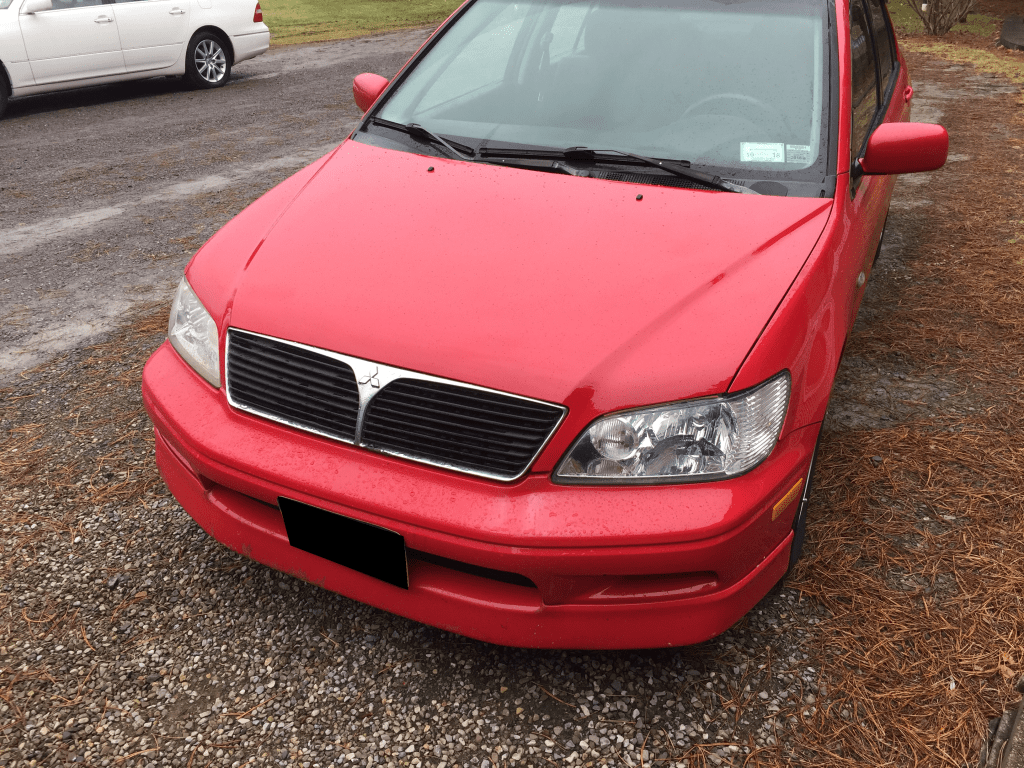
2003 Mitsubishi Lancer Painting Project
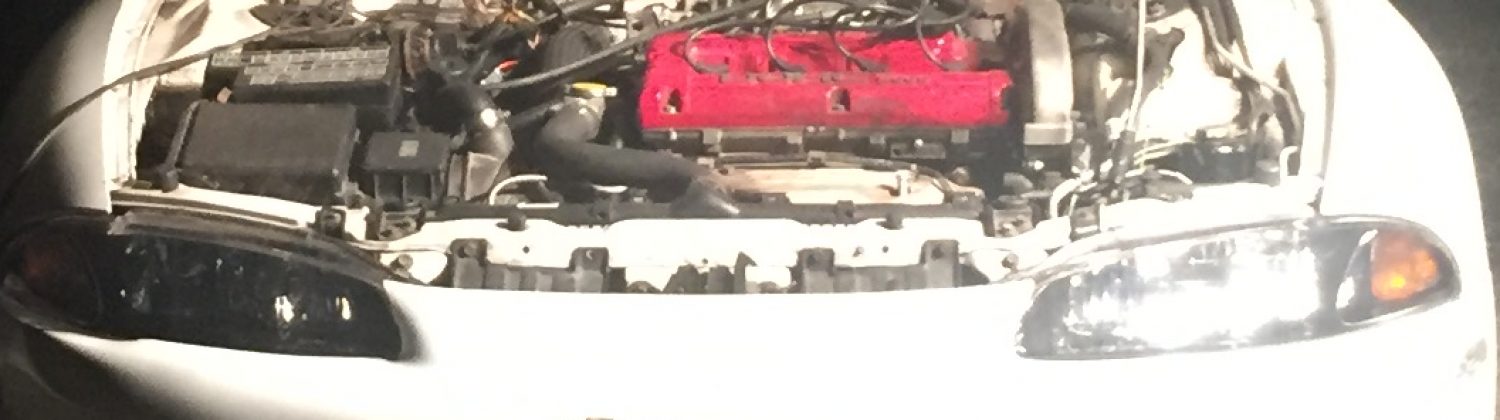
I figured that this one would be an easy one to start with. Back in 2017, I discovered that I wanted to learn how to paint cars. This arose from a project I started with my 2003 Mitsubishi Lancer OZ Rally Edition. When I purchased it, I noticed that it had some rust which had created a hole near the rocker panel. I was determined to learn how to fix it.
After doing some research, I came across this website called Automotive Touchup where I learned what products I needed and how I should go about repairing the damage. They have these short tutorial videos which are fairly helpful in getting you started.
I purchased the primer, basecoat, and an acrylic clearcoat, all in spray cans. Now, as I would later learn, the painting is better done with HVLP (High Volume Low Pressure) equipment. But, at the time, I just wanted to get moving. I sanded down the paint until I hit bare metal, and then applied a rust converter like this to stop any corrosion that I couldn’t see.
I applied primer, base, and clear in the proper time increments and then sat back to look at my work. It wasn’t too bad for a first try! It gave me enough confidence to repeat this same process with the hood.
Two Mistakes
When I finished the rust repair on the wheel arch, I looked at the finish. It had a bit of what is called “orange peel” because that’s exactly what it looks like. The atomized paint begins to dry before it hits the surface and creates a finish that looks like the peel of our scurvy-fighting friend.
“No worries,” I thought. “It can be sanded and polished.” And this is true. Orange peel removal usually requires a process of wet-sanding and buffing to create a smooth finish. I read the back of the can concerning the time I needed to wait before I could start that process safely.
Unfortunately, I misunderstood some of the instructions. I decided I wouldn’t need to sand, but just buff it. As I began buffing, I noticed that the clear started to fog up. I thought perhaps it was just part of the process. But, to my horror, I realized that the clear was not nearly dry enough…
Acrylic clear does not have any chemical hardeners in it like 2K primer and clear (which I touch on later). So, it needs adequate time to air dry before being buffed. Being too impatient, I had raced ahead to try and finish the project, only to end up ruining it.
The other mistake I made would not appear until much later. On both the wheel arch and the hood, I began noticing little specks of rust starting to appear all over, popping through the paint. I was so frustrated and couldn’t understand. I had done everything I was supposed to!
Well, not entirely. See, there is another type of primer known as “self-etching.” Self-etching primer creates a chemical bond with a bare metal surface to protect it from rusting. After you put self-etching primer on, you top it with standard primer to form a barrier and foundation for the actual color.
I did not use this. Thus, despite being covered by paint, the metal was still susceptible to corrosion, which means, I would need to repaint…
The Repaint
When I did the repaint, I had already learned how to use HVLP equipment during my 3000GT project. So, off the bat I was going to get better results than just a spray can because, as long as you have practiced properly, HVLP allows you to control many more factors and provides and overall more uniform (and professional) finish.
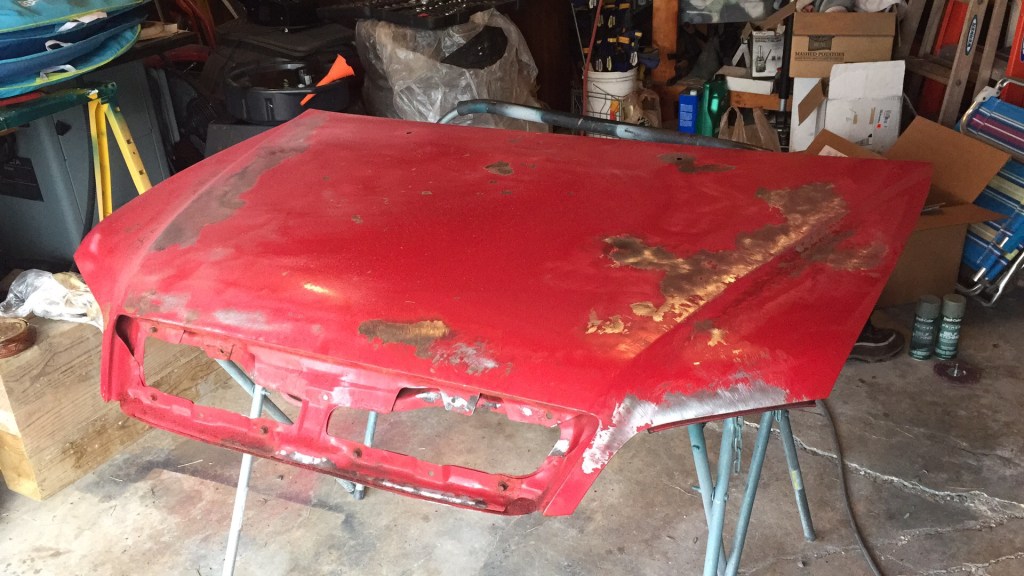
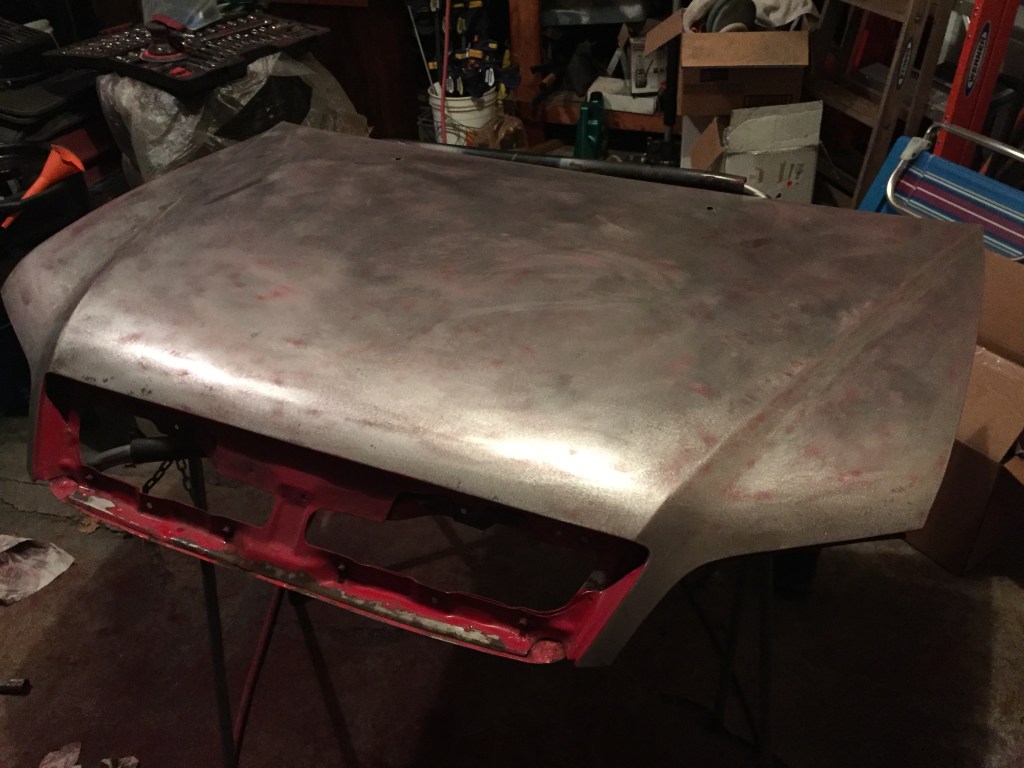
This time, after stripping the paint down to bare metal, I used self-etching primer before anything else (though I did spray the rust converter first to take care of any of the surface rust which had developed).

Next, I applied the primer. This time I used a 2K chemically-hardened high-build primer, which creates a good base. Once this is on the surface, you can sand it down to get it smooth. Oftentimes, applying a guidecoat (a paint of a different color which can also be sanded off) can help you to find low spots that you need to fill in or places you may have forgotten to sand.
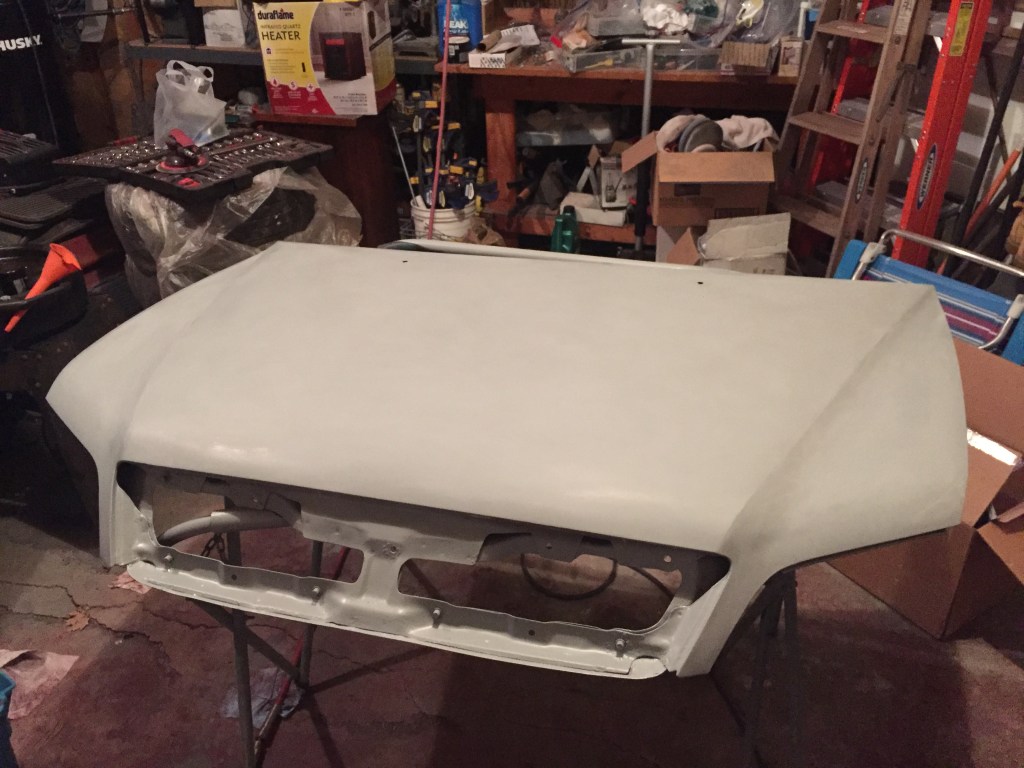
Like many things in life, if you don’t have a good foundation, it won’t matter what you build on top. Eventually, it falls apart. Paint is no exception. Once the primer has been applied, you need to sand it as flat as possible, because the texture you see in the primer is the texture you see in the finished product. The reason for this is that the remaining layers of paint (color and clear) are not meant to be slathered on. Thus, what you see is what you get during the priming stage.
Your choice of sandpaper matters, too. Oftentimes it is fine to start with an aggressive sandpaper to really get the texture/high points knocked down. However, if you leave it at say, 180 grit scratches (fairly aggressive sandpaper), you will see those when you finish painting. Therefore, you need to increase the number of the sand paper you are using (perhaps something like (180, 220, 320, 400, and finally 600).
“But Bernie, if you’re so worried about the scratches showing through, why not just settle for the texture that’s there when you finish the primer? That’s got to be better than sanding scratches, right?” No.
When you were a kid, did you ever try to climb up a wet slide? How’d that work out for you? That’s how the paint feels when you don’t sand. It has nothing to grab on to. The scratches from sanding provide a way for the paint layers to grip one another. There is chemical adhesion as for products like sealers and the way in which the clear sticks to the base, but everything above the primer depends on these little peaks and valleys for adhesion (known as mechanical adhesion).
Putting the color and clear on are the rewards for your hard work during the priming/sanding stage. Color goes on in just a few layers, enough to get full coverage. Then, after it has flashed (basically when the base has dried to a dull finish), it gets topped with 2-3 coats of clear.
Clearcoat can be difficult to apply. If you use too high of an air pressure or an incorrect angle, you may get dry spray, which is where the clear dried too much before it hit the surface, making it look hazy and dull. If the air pressure is too low or you move too slowly, the clear may get severe orange peel or may even run. Runs are not fun. If you notice the clear dripping, there are a few ways to mitigate the effects, but you might just have to sand it out.
I used a 2K hardened clear with a medium hardener (there are slow, medium, and fast hardeners which dictate how quickly the clear dries; climate is often a consideration when deciding which hardener to use).
I was actually pretty happy with how the clear came out. I had minimal orange peel, though I did have a little trouble with coverage on the edges of the hood. When you start painting, you need to have a plan as to how you will attack it. If you don’t, you may forget where you just painted, neglect to paint some area, or lean awkwardly over paint you’ve already put on.
Ultimately, I was satisfied with the result:
Lesson Learned
If painting has taught me anything, it’s most certainly patience. So much of the process is dependent upon you playing a waiting game, or reworking something over and over again until it meets your standards.
And speaking of standards, it has also taught me when to say, “That’s good enough.” Curtailing my perfectionism is its own task when I paint. There have been plenty of times where my mind says, “Ah, keep going. See that little bit there? Someone’ll see that…” and I have to tell it, “Nope. That’s good enough. We’re moving on.” I could expand on this, but I want to leave it for my 3000GT Project Post, because there were many circumstances during the process which quickly taught me that lesson…
Thanks for reading my first post!
This is my first post on this blog (if you couldn’t tell by the dearth of posts), so I truly appreciate you taking the time to read it. I’ll be trying to upload frequently at the beginning because I’ve got so many ideas. If you enjoyed this article and would like to see what I post next, please add your email to the subscriber list to be notified of my future posts!
Categories
